How to Knead The Dough Without a Stand Mixer
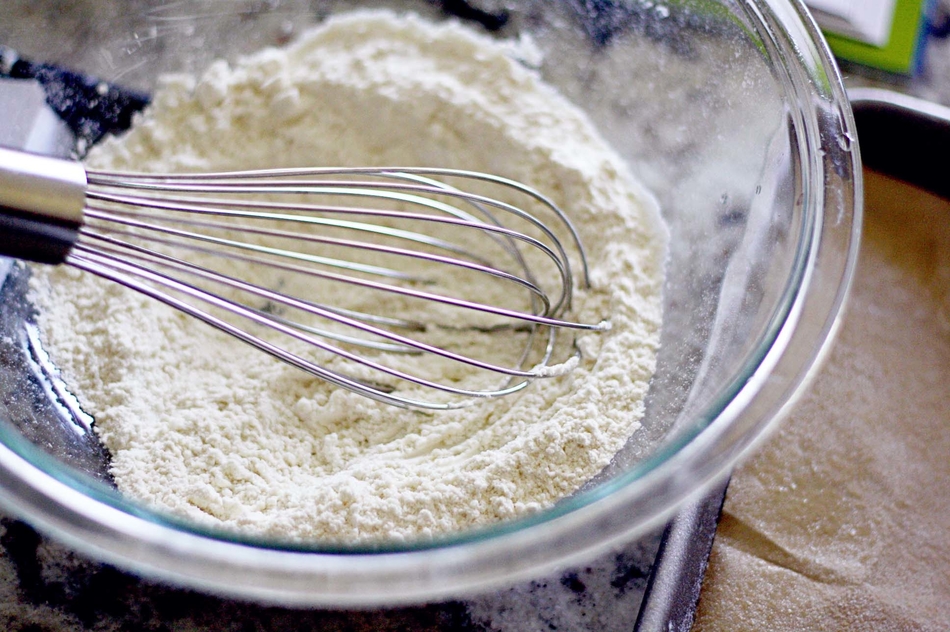
Kneading the dough is really important because how you knead the dough can actually make or break your bread. Kneading is basically the process of working the dough into a smooth ball to create the strands of gluten that acts as the backbone to your favorite bread recipe. This technique can be used to make any bread recipe, just make sure you are following the specific steps of the recipe indications. Start with half of the flour that the recipe calls for in the mixing bowl then add a little granulated sugar then the yeast.
Using the instant yeast is really simple because you just toss it in the ingredients and it does not require proofing. Add in salt and mix everything in then start adding the warm water, you will use water that is about 125 degrees Fahrenheit if it’s too hot then it will kill your yeast, and the dough won’t be formed well and if it’s too cold it will take longer of your dough to rise. Once you have added the water, give it a quick stir with a spatula then start to gradually add the rest of the flour.
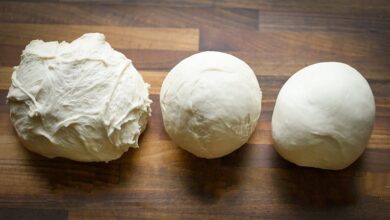
The most important part when making the dough is to really pay attention to how the dough is really looking for you, you should be making the dough depending on your kitchen environment so you may need to add more flour than the recipe calls for or less. You also might need to knead longer than the recipe says or less time depending on how your kneading speed is. Once the dough starts to come together like a shaggy mass, move the dough out of the bowl, and onto a floured surface and start kneading it.
You can use both your palms to press and push the dough then turn it over and keep it moving and add more flour if necessary. Avoid adding too much excess flour more than the recipe calls for because that will result in a more dense and dry loaf which you definitely don’t want. When making bread, it is important to use bread flour of half bread flour and a half all-purpose flour because bread flour has a higher level of protein content and that protein will help create a stronger dough that is easier to work with, it rises nice and tall and makes a beautiful dough.
To know if your dough is perfectly kneaded, you will and ready to move on to a rising is by performing the windowpane test. Take a little chunk of dough and the way to tell that it is perfectly kneaded is tp stretch the dough out and you should be able to see through the dough and have it form a flexible web. Once the dough has passed the windowpane test, put it in a separate bowl, and let it rise.
Ingredients;
- 1 cup lukewarm milk
- 1/3 cup lukewarm water
- 1 package (2 1/4 teaspoons) yeast
- 1 large egg, beaten
- 2 teaspoons granulated sugar or honey
- 3 3/4 cups (476 grams) all-purpose flour
- 1 teaspoon fine salt
Instructions;
- In the bowl of a stand mixer fitted with the dough hook, stir together the milk, water, and yeast. Let stand for 5 minutes, or until the yeast is foamy and dissolved. Add in the egg and sugar, stirring to combine.
- Add in half the flour, stirring until absorbed. Add in the salt. With the mixer on low speed, gradually add in the remaining flour until combined. Increase speed to medium-low and knead until the dough is smooth and elastic about 7 minutes.
- Shape the dough into a ball and place inside a greased mixing bowl. Turn to coat. Cover with plastic wrap and allow to rise until doubled in size, about 1 to 1 1/2 hours.
- Punch the dough down. Now the dough is ready to be shaped and used as you wish. If making any rolls or loaves, allow the dough to rise again after being shaped until it’s puffy, about 30 minutes to 1 hour, before baking.
