Sugar Free Sweetened Condensed Milk
In creating or converting some classic recipes, there are some important ingredients that seem to be an integral part of the recipe but don’t appear to have an easy keto conversion. One of these ingredients is the sugar-free sweetened condensed milk. One of the best thing with this recipe is that it only has 4 ingredients, add heavy cream and the confectioner sweetener over medium-low heat while stirring to dissolve the sweetener as the cream is warming up.
Continue cooking at a simmer for 30 minutes, continue stirring occasionally as the cream continues to reduce and thickens. While simmering, you may have to control and adjust the heat, this is to prevent the cream from scorching from the bottom of the pan, that is why you have to stay close to the heat when making this recipe. After 30 minutes, the sugar and the cream will have condensed, at this point, the creamy liquid will be very thick and if you dip a spoon in it it will coat it very well and as you run your fingers at the back of the spoon it will stay nice and clean.
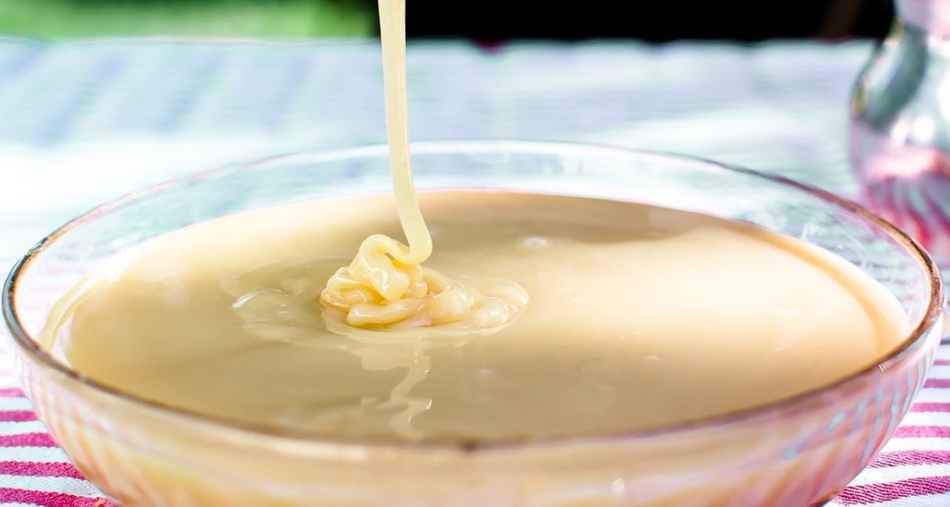
At this point, the condensed milk is ready for the next step that is to add unsalted butter. Immediately after adding the butter, stir until the butter is blended into the cream mixture, continue to simmer the liquid on low heat for another 2 minutes and this will help the butter flavor to better infuse the cream mixture.
The last step is to turn off the heat then add vanilla extract and stir until the liquid is smooth and glossy. Pour the condensed milk into a heatproof airtight container and if you are going to use it the same day, let it cool for at least an hour in order for the flavors to develop better.
Ingredients;
- 480 g (2 cups) heavy whipping cream
- 120 g (10 tbsp) Lakanto sweetener – ground to confectionery
- 36 g (2 tbsp) unsalted butter
- 10 g (2 tsp) vanilla extract
Alternative Sweetener;
- 160 g allulose- ground to confectionery
Instructions;
- Place the cream and confectionery sweetener in a deep-sided, wide pan, such as a frying pan.
- Set heat to medium-low, stir frequently as the liquid comes to a very gentle boil. Reduce the heat and continue cooking at a simmer for 30 minutes, stirring frequently while the cream is being reduced and thickened.
- Control the heat carefully to prevent scorching (you may have to reduce or turn-up the heat to keep a constant brisk simmer)
- Add the unsalted butter, stir in and simmer at low heat for one to two minutes
- Turn off the heat, add vanilla and stir until well blended and the liquid is smooth and glossy
- Pour into an airtight, heatproof container and either let cool on the counter for at least one hour before using (in order for the flavor to develop) or refrigerate until needed.
- The liquid will thicken as it cools in the refrigerator – let rest one hour before using. Best if left overnight for flavors to develop
